Managing Teams in Mindmup
Larger teams and organizations often need a simple way to share maps—for example, a class in a school or a project team in a software development organization. Mindmup allows you to create teams to collaborate and share maps easily. This guide explains how to set up teams, manage members, and share maps with them.
Creating a New Team
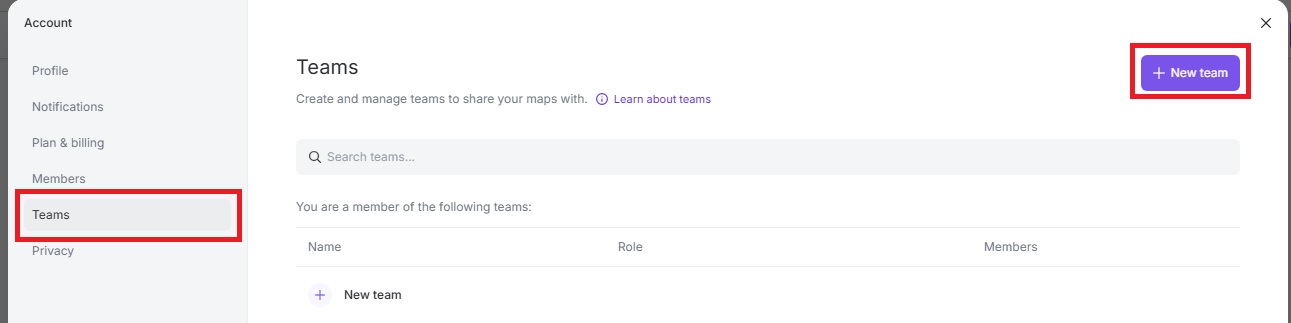
To create a new team:
- Go to Account › New team.
- Enter the team name.
- Click Create team.
Once created, you can manage the team’s members, copy the team link, rename the team, change its color, or delete the team.
Managing Team Members
To manage team members:
- Click the three dots next to the team.
- Click Manage members.
- Select the email address from the list of available addresses.
- Click Add to team.
Assign a role to each member:
- Can view – Member can view all team maps but cannot edit.
- Can edit – Member can view and edit all team maps.
- Team Admin – Member can manage team members, roles, and maps.
Note: For organizations using third-party authentication (Google, Microsoft, etc.), you can only add colleagues who have signed into Mindmup at least once. If you cannot find a user, ask them to sign in at app.mindmup.com first.
Sharing Maps with a Team
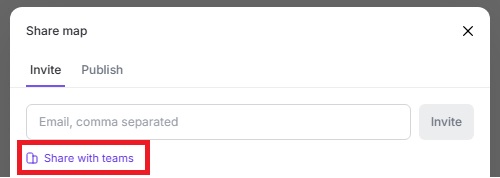
To share a map with a team, you have two options:
- While editing a map, click Share › Share with teams, then click the teams to share the map with.
- Or from the main menu, go to File › Share/Publish › Share with teams, then click the teams to share the map with.
How Team Roles Affect Map Access
When you share a personal map with an entire team, each member automatically inherits access based on their team role.
For example, if a map is shared with a team of five members:
- One is a Team Admin
- One has Can edit permission
- Three have Can view permissions
Only the Admin and the Can edit member can modify the map. The other three will have view-only access.
In short, your team role determines your permissions for maps shared with the team or created within it.
For questions or support, contact us at contact@mindmup.com.